How do you pickup LOCATOR® Attachments? A Step-By-Step Guide.
PROCESSING LOCATOR DENTURE CAPS INTO THE OVERDENTURE: THE DIRECT TECHNIQUE
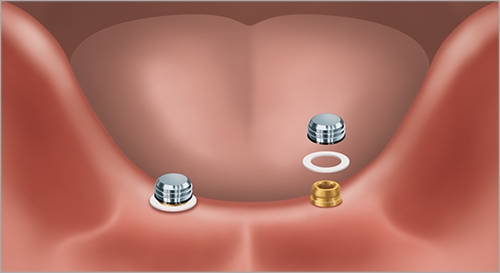

Diagram 1
Place a White Block-Out Spacer around each Abutment and press it down to the tissue. Snap a Denture Cap with a pre-loaded Black Processing Male onto each Abutment, pressing down firmly.
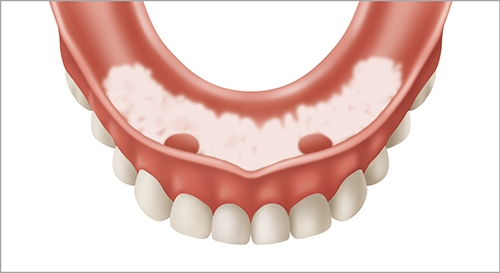

Diagram 2
Apply fit check marking paste to the intaglio surface of the overdenture. Insert it into the mouth in position over the Denture Cap. This will mark areas where the overdenture will need to be relieved to allow space for the Caps to be picked up.
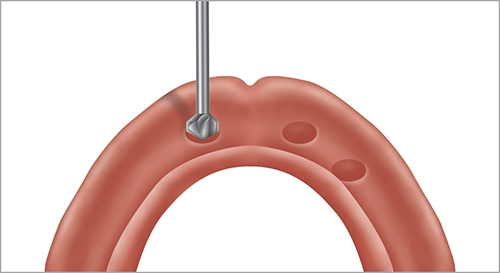

Diagram 3A & 3B
Relieve the marked areas with the CHAIRSIDE® Recess Bur. Zest recommends using slight pressure and a small rocking motion to get the tip of the Bur started, followed by a straight downward motion to create the desired recess site. This efficient Bur has distinct depth landmarks which indicate where to stop when drilling for the Denture Cap.
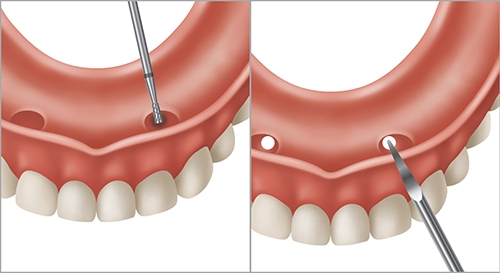

Diagram 4A & 4B
Use the CHAIRSIDE Undercut Bur to cut an undercut around the circumference of the recesses for mechanical retention. Cut lingual/palatal vent windows in the overdenture with the CHAIRSIDE Vent Bur to visualize full seating and for excess material to vent.
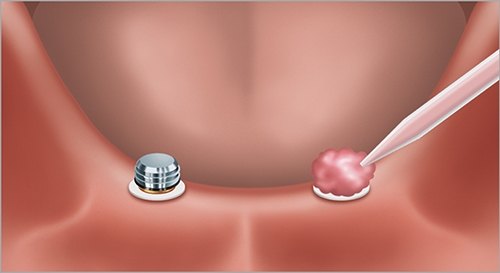

Diagram 5
Dry the Denture Caps. Apply a small amount of CHAIRSIDE® Attachment Processing Material around the circumference of each Cap. Place CHAIRSIDE Material into the recesses in the overdenture and seat it over the Caps and onto the tissue. Have the patient close into light occlusion and hold while the CHAIRSIDE Material sets. Please refer to CHAIRSIDE Attachment Processing Material IFU for set times.
NOTE: Excessive occlusal pressure during the setting time may cause tissue recoil against the overdenture base and could contribute to dislodging and premature wear of the Males.
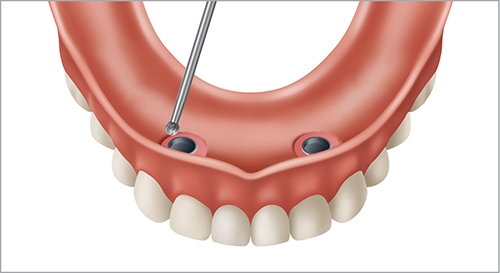

Diagram 6
Disengage the overdenture from the Abutments and remove from the mouth. Verify that the Denture Caps have been securely processed into the overdenture. Fill any voids and light cure. The material will bond to itself and will cure within 30 seconds with light application. Remove any excess material with the CHAIRSIDE Grind Bur.
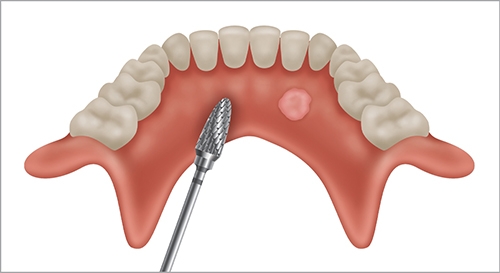

Diagram 7
Use the CHAIRSIDE Trim Bur to remove any excess acrylic material remaining on the overdenture.
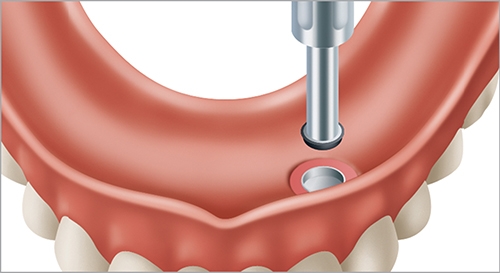

Diagram 9
Remove the Black Processing Male using the Removal Tool.
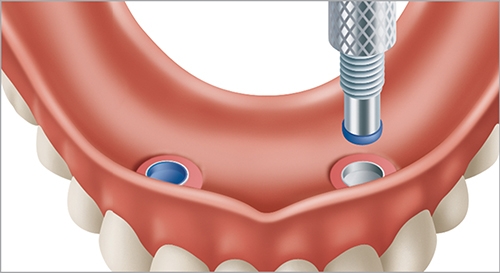

Diagram 10
Place the selected final Male into each Denture Cap using the Seating Tool. Start with the least retentive Male for the initial patient try-in. Please refer to LOCATOR 3-In-1 Core Tool instructions in the LOCATOR Technique Manual, page 5.
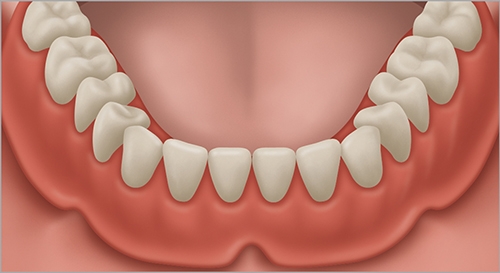

Diagram 11
Seat the overdenture and press down to engage the Males on the LOCATOR Abutments and verify the occlusion. Instruct the patient on how to remove and insert the overdenture. If the retention is not satisfactory, remove the Males and replace with the next level of retention. Refer to the Standard and Extended Range Male retention chart for more information. Please refer to LOCATOR Technique Manual, page 31, for instructions on proper home care maintenance and required recall visits.

